
Traveling the World – Slow internet bytes
22nd February 2020
I’ve recently been lucky enough to have the opportunity to travel around South America for 4 months. In this blog series I’ll be looking at some of the ways it’s changed me – as a person and as a developer.
I don’t think it comes as a revelation that the average developer’s biggest enemy is the one that looks back at them from the mirror. Typos, missing brackets, those facepalm moments where you realise there was a far easier way.
As a dev it’s a no-brainer to want the things that make your job easier, such as better tech and a faster internet connection. But that can become its own problem, as we find ourselves deep within the high-speed developer bubble.
Working in an office for an agency I could routinely expect a minimum speed of 35mb/s. But when I found myself trying to load sites on a 0.2mb/s connection in Bolivia, it was a completely different experience. Sluggish, sometimes unsuccessful and all in all a frustrating experience – and one very much the norm for many people in a lot of countries.
It really does change your perspective on what’s an acceptable size for a page request when the difference becomes seconds rather than milliseconds, particularly when what you’re trying to do is really important. Booking flights or finding bus times becomes a situation where a slow website can drastically mess with your day.
How can this make your website better?
Know your audience
If your site is exclusively aimed at visitors from central London then you’re looking at a higher average speed than if you’re targeting people worldwide, which should influence your design and development process. I’d recommend keeping an eye on https://www.speedtest.net/global-index – just bear in mind this is an average, so speeds can get much slower.
Be smart with images
A well-chosen image can enhance your content; a picture is worth a thousand words after all. But no image is worth a page that nobody will ever read because it’s far too slow to load. My general rule of thumb is that no web image should ever be larger than 1MB, but you should be aiming for far smaller.
- Compress your image – programs like PhotoShop and GIMP will allow you to export your image with a number of different compression options. Or if you’re a Terminal junkie take advantage of utilities like ImageMagick.
- Choose your image format – jpg works well for traditional photos, png for large blocks of colour, and svg is the clear winner when it comes to vectors and logos. See which one will get you the best quality for the smaller file size when it comes to your picture.
- Size your image – If your image will be displayed exclusively at 400px wide then don’t upload it at 12000px wide. That’s wasted bandwidth. On WordPress take advantage of thumbnail sizes to make your job easier.
- Use modern formats – Google’s WebP has changed the way I use images. It’s built straight for web so has a brilliant ratio of file size to quality. To convert your images check out https://squoosh.app/ or download the cwebp terminal utility. You can also automate the process in WordPress (which doesn’t natively support the format just yet) with the excellent WebP Express. Just bear in mind it’s not supported by all browsers so you’ll need a fallback. I’ll be covering this in more detail in a future post.
Optimise your code (from the start)
Less code means a smaller file to serve. There are various techniques for reducing size (e.g. minification, uglification, gzipping), much of which can be automated by your host or a plugin.
However it’s important to keep optimisation in mind throughout your development process, not just at the very end. Do you need a huge JS library or can what you need be done with something simpler? Can you refactor your code to turn 12 lines into one? You should ask the same questions of WordPress plugins.
Leverage Caching
Caching takes two forms, both of which can speed up a site.
Server-side caching will store a page as static html on your server, so it can be served more quickly without making database queries and parsing server-side code (e.g. PHP, Python, Node).
Client-side caching stores pages and assets on a visitor’s computer so they don’t have to download them again. Caching is encouraged by tags in the head of your html page.
Setting up both of these can be simplified by a plugin (or your host).
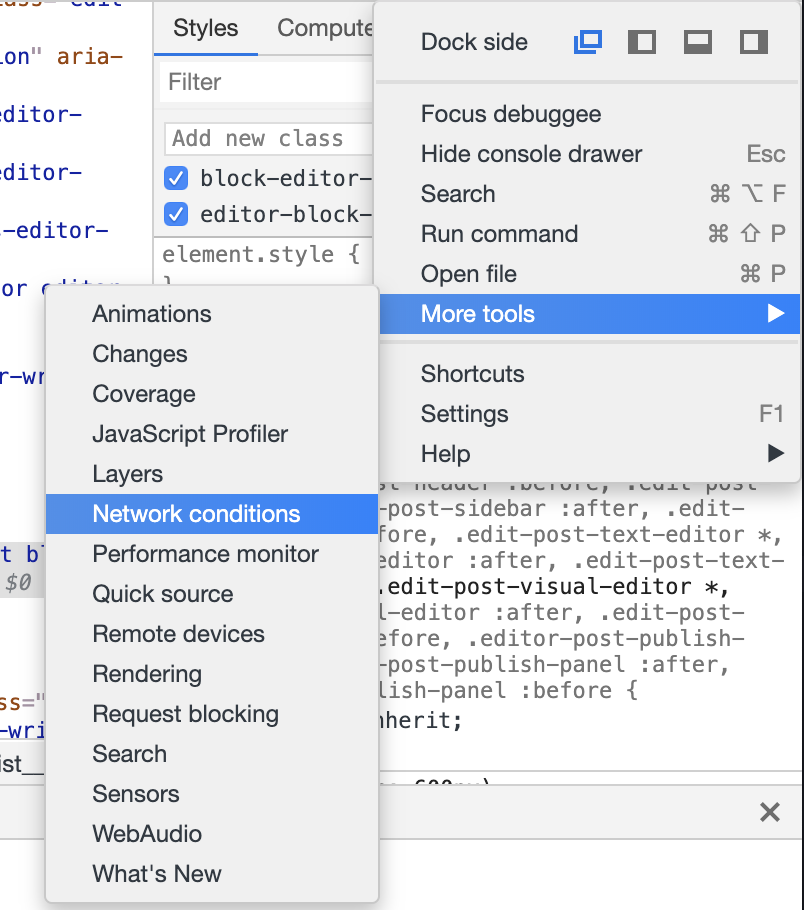
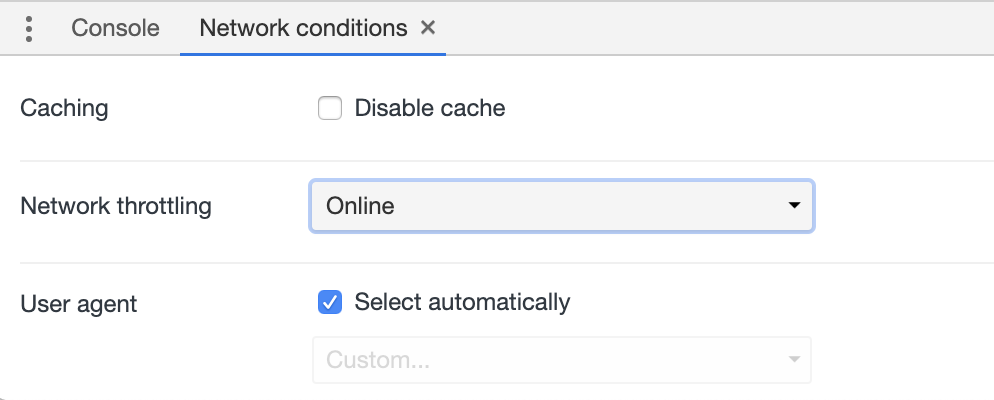
Use your browser’s developer tools
Modern web browsers have an easy way of simulating the experience of a slower connection. In Chrome, open your developer tools and you can find More Tools > Network Conditions which will let you choose from presets or set your own upload speed, download speed and latency.
Use PageSpeed Insights and other tools (but don’t lose sleep aiming for 100)
Google PageSpeed Insights is an incredibly useful tool. It can help find bottlenecks for pagespeed and dramatically improve your load time. Just be sure to view it as a tool, not a mandatory 100% or you’ll be ripping your hair out.
TLDR
Most of us live in a developer bubble, with fast connections and fancy tech. Make sure to step outside that bubble and check your site works for the rest of the world.